Why Tailoring Is the Secret Weapon That Makes Budget Clothes Look Designer

In this post, you'll learn exactly why professional tailoring transforms inexpensive clothing into pieces that look like they came from a high-end boutique—and how to get it done without spending a fortune. Whether you're thrifting, shopping sales, or working with a tight budget, the right alterations can make a $20 blazer look like it costs $200.
What Does Tailoring Actually Do to Your Clothes?
Most people assume expensive clothes look better because of the fabric or the label. That's only part of the story. The real magic happens in the fit.
Designer garments are cut and sewn with specific proportions in mind, then fitted on models during the design process. When you buy off-the-rack clothing—even from budget retailers—those pieces are made to fit a generic body shape that doesn't actually exist. They're boxy in the wrong places, too long in the sleeves, and gap at the waist. That's where tailoring comes in.
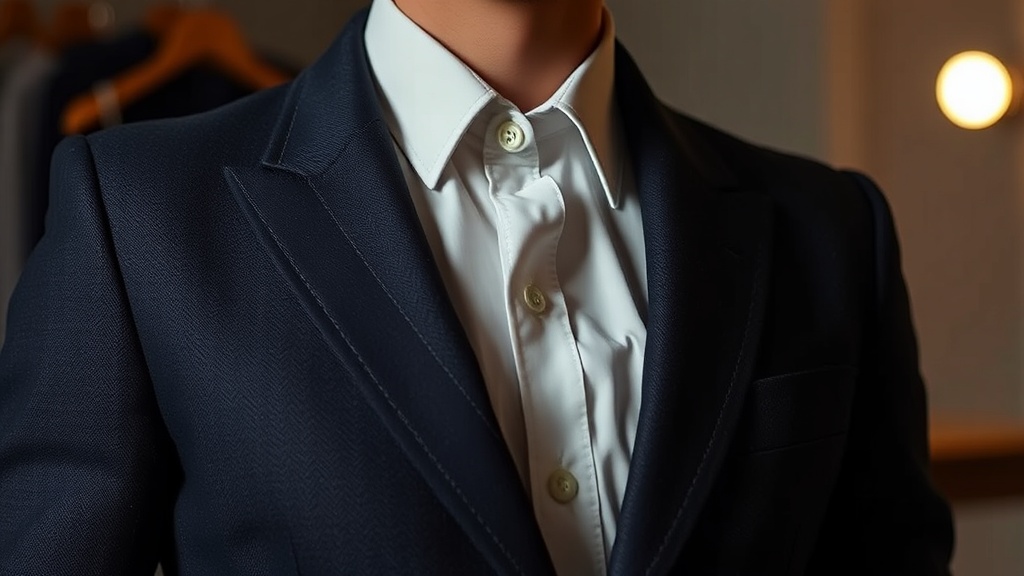
A skilled tailor takes that generic garment and sculpts it to your body. They nip the waist on a blazer so it creates an hourglass silhouette. They shorten sleeves to hit exactly at your wrist bone. They taper trousers so they skim your ankle instead of pooling around your shoes. These adjustments don't just make clothes fit better—they create the illusion of custom-made pieces.
The psychological impact is real. Studies on clothing fit and perceived social status show that well-fitted garments consistently signal higher socioeconomic status than loose or ill-fitting clothing—regardless of the actual price point. Your brain registers the clean lines and proportional fit as "expensive" before you even process the fabric or design details.
Which Pieces Are Worth Altering—and Which Aren't?
Not every bargain find deserves the tailor treatment. You need to be strategic. Here's how to decide:
Always tailor these:
- Blazers and suit jackets – Taking in the sides, shortening sleeves, and adjusting shoulder width (within reason) transforms these from frumpy to fierce.
- Structured trousers – A hem adjustment and waist tapering makes cheap pants look polished. The cost is usually $15-25, and you'll wear them for years.
- Dresses with potential – If the fabric feels substantial and the color works for you, nipping in the waist or adjusting the length can make a $30 dress look like $300.
- Quality coats – Outerwear is worth investing in because you wear it daily during colder months. A well-fitted wool coat from a thrift store beats a shapeless designer one.
Skip tailoring these:
- Fast fashion tops made of thin, synthetic fabric—they won't hold the alterations well.
- Anything with major structural issues (shoulders that are way too wide, armholes that gape significantly).
- Trend pieces you'll only wear a few times.
- Items where the alteration cost approaches the original purchase price (unless it's a special occasion piece).
The sweet spot? Quality natural fabrics—cotton, wool, silk, linen—that just need minor adjustments to fit your frame.
How Much Should You Actually Spend on Alterations?
Here's the budget math that makes this strategy work. If you're buying a blazer for $25 at a thrift store or clearance rack, spending $30-40 on tailoring still puts you at $55-65 total. Compare that to a $300+ designer blazer. You're saving 75-80% while achieving a similar visual effect.
Typical alteration costs to budget for:
| Alteration | Price Range |
|---|---|
| Hemming pants/jeans | $10-20 |
| Tapering trousers | $20-35 |
| Blazer sleeves (shorten) | $25-40 |
| Taking in blazer sides | $30-50 |
| Dress waist adjustment | $25-45 |
| Coat alterations | $40-75 |
Pro tip: Build a relationship with a local tailor. Independent shops often charge less than dry cleaners that offer alterations on the side, and they'll get to know your preferences. Ask about package deals if you're bringing in multiple pieces.
For simple hems, consider learning basic hand-sewing. YouTube has excellent tutorials, and a blind hem stitch isn't difficult to master. Save your tailoring budget for the structural work that requires professional equipment and expertise.
Can You Spot Alteration Potential When Shopping?
Developing an eye for what could fit with alterations is a skill that pays dividends. Here's what to look for:
Check the shoulders first. Shoulders are the hardest and most expensive part of a garment to alter. Jackets and blazers should fit reasonably well through the shoulders right off the hanger. If they're more than a half-inch too wide, move on.
Ignore the length initially. Sleeve and pant length are easy fixes. Don't reject a piece because the sleeves are too long—that's actually ideal, since you can customize the final length to your exact preference.
Look at the overall silhouette. Can you visualize how this would look with a more defined waist? Tapered leg? Shorter hem? If the bones are good, the garment is worth considering.
Inspect the construction. Seams should be finished properly. Lining should hang smoothly. Buttons should be securely attached. Quality construction means the piece will survive alterations and last longer.
When thrifting, bring a measuring tape and know your key measurements: shoulder width, sleeve length, waist, and inseam. This speeds up the decision-making process significantly.
DIY vs. Professional: What Can You Handle Yourself?
Some alterations are genuinely beginner-friendly. Others require professional equipment and years of experience. Here's the breakdown:
Try these yourself:
- Simple hems on straight skirts or wide-leg pants
- Replacing buttons with higher-quality alternatives
- Taking in side seams on simple tops (no lining, no complicated construction)
- Adding darts for waist shaping
Leave these to professionals:
- Shoulder adjustments
- Anything with lining
- Suit jackets and structured blazers
- Complex pattern matching
- Leather or suede alterations
Investment in basic sewing supplies—a good needle set, quality thread in multiple colors, a seam ripper, and fabric scissors—costs under $30. Combined with online tutorials from Seamwork or free YouTube content, you can handle minor fixes that multiply your wardrobe options.
But know your limits. A botched DIY job on a structured piece often costs more to fix than if you'd taken it to a professional from the start. When in doubt, consult a tailor. Many will give you a free or low-cost assessment of what's possible.
Quick Wins to Try This Week
Ready to put this into practice? Start with these low-risk, high-impact moves:
- Take three pairs of pants to be hemmed. Notice how immediately more expensive they look when the length is perfect.
- Replace plastic buttons on a blazer or coat with metal or horn alternatives. This $5 swap makes a surprising difference.
- Have a thrifted blazer taken in at the waist. The defined silhouette is transformative.
- Steam or press everything before deciding on alterations. Sometimes a good press reveals a piece needs less work than you thought.
The goal isn't perfection—it's proportion. Clothes that fit your body signal attention to detail and personal standards. That's what reads as expensive, regardless of what you actually paid.
"The most expensive outfit in the world looks cheap if it doesn't fit. The cheapest outfit looks luxurious when it's tailored to perfection."
Your wardrobe isn't defined by price tags—it's defined by intention. A $15 thrift store find that fits like it was made for you will always outshine a $500 impulse purchase that hangs awkwardly off your frame. Start viewing shopping as a two-step process: acquisition first, then transformation. That's how you build a closet full of pieces that look like money—without actually spending it.